Magic Soup
Magic Soup
- Activity Add-ons
- Activity Printables
- Activity Add-ons
- Activity Printables

Materials
- A bowl or cooking pot
- A cooking spoon
- Small bowls or plates for each ingredient
- A pitcher for your liquid
- Ladle
- Mugs or bowls for the soup
- Dried pantry goods such as cereal, dried beans, rice, chip crumbs, marshmallows, and crackers
- A liquid base for your soup (water with food coloring works wonders)
- Paper towels
Instructions
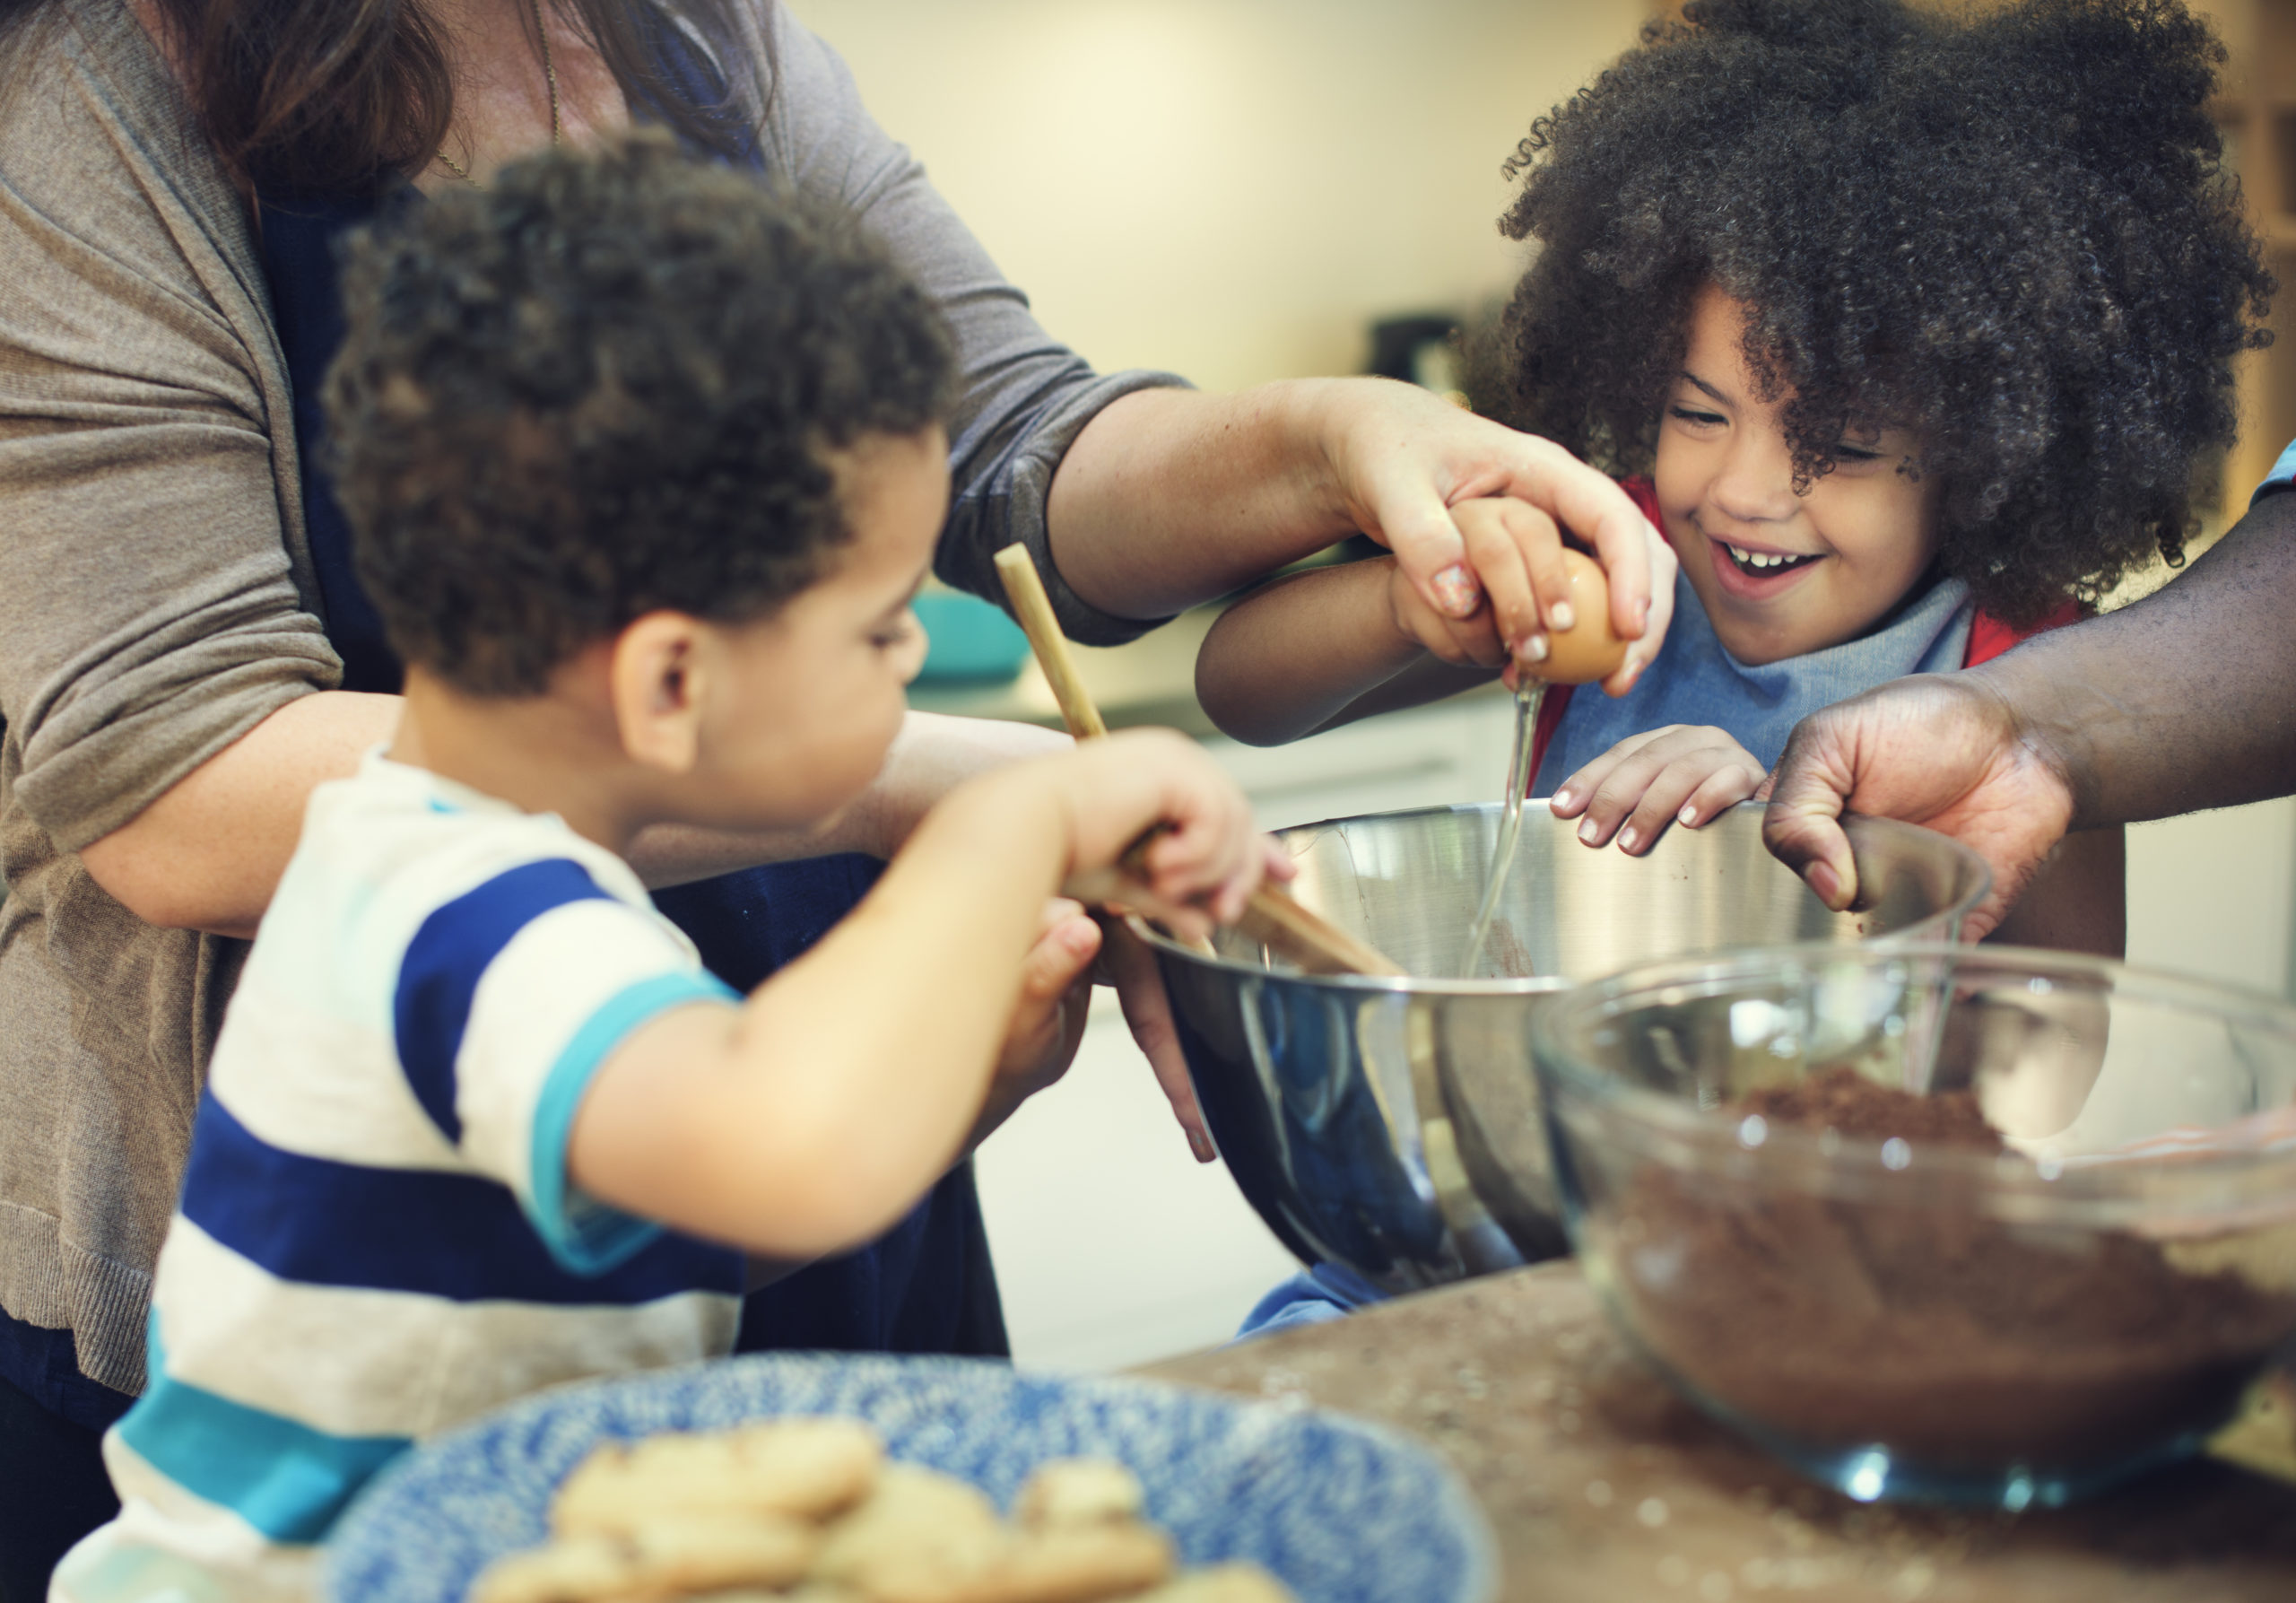
- It’s time to encourage your child to learn to cook! Start with a clean area in your kitchen. Set out your ingredient bowls and fill them ¾ of the way with your dried pantry goods. Be sure to give each ingredient a separate bowl. You’ll want to offer your child a variety of food so they can compare the different textures, smells, and colors as they make the “soup.”
- Fill your pitcher with your liquid of choice. If you’re using water and food coloring, now’s the time to mix in color. Finish set-up by placing your cooking pot or bowl and spoon on the table. This activity can be mixed in a bowl and served cold or warmed up on the stove in your pot. Let your child decide!
- It’s time to bring in the star chef! Encourage your child to identify each ingredient as they place handfuls into the pot or bowl. We recommend you stick with dry ingredients until your child has put at least half of the ingredients into the cooking pot. At this point, you should slowly pour the liquid into your container, encouraging your child to stir the mix together.
- Using coffee mugs or small bowls, help your child scoop out servings of their magic soup.
Magic Soup
- Activity Add-ons
- Activity Printables
- Activity Add-ons
- Activity Printables
Make STEM Connections
Read some classic stories about soup.
Read “Stone Soup” and “Nail Soup.” Ask your child if they think it is physically possible to make soup with only a nail or a stone.
Reversible or irreversible?
Learn about the difference between physical and chemical changes and look into other chemical changes in the kitchen. Make some hypotheses and do some experiments in your kitchen to confirm them!
Make melted crayon shapes.
Use a silicone ice cube tray that makes fun shapes, then sort through your crayon bin and combine all the broken pieces to make multi-colored crayon shapes. Turn the oven light on as you bake the crayons at 230 degrees for 15 minutes and watch with your child as they melt and the colors combine in the heat.
Put things through a freeze test.
Gather a bunch of materials (toys, flowers, craft supplies, etc.) and freeze them with a little water into the slots in an ice cube tray. What is each material like when it is frozen? How does it change? If it changes, does it go back to the way it was once it melts?